
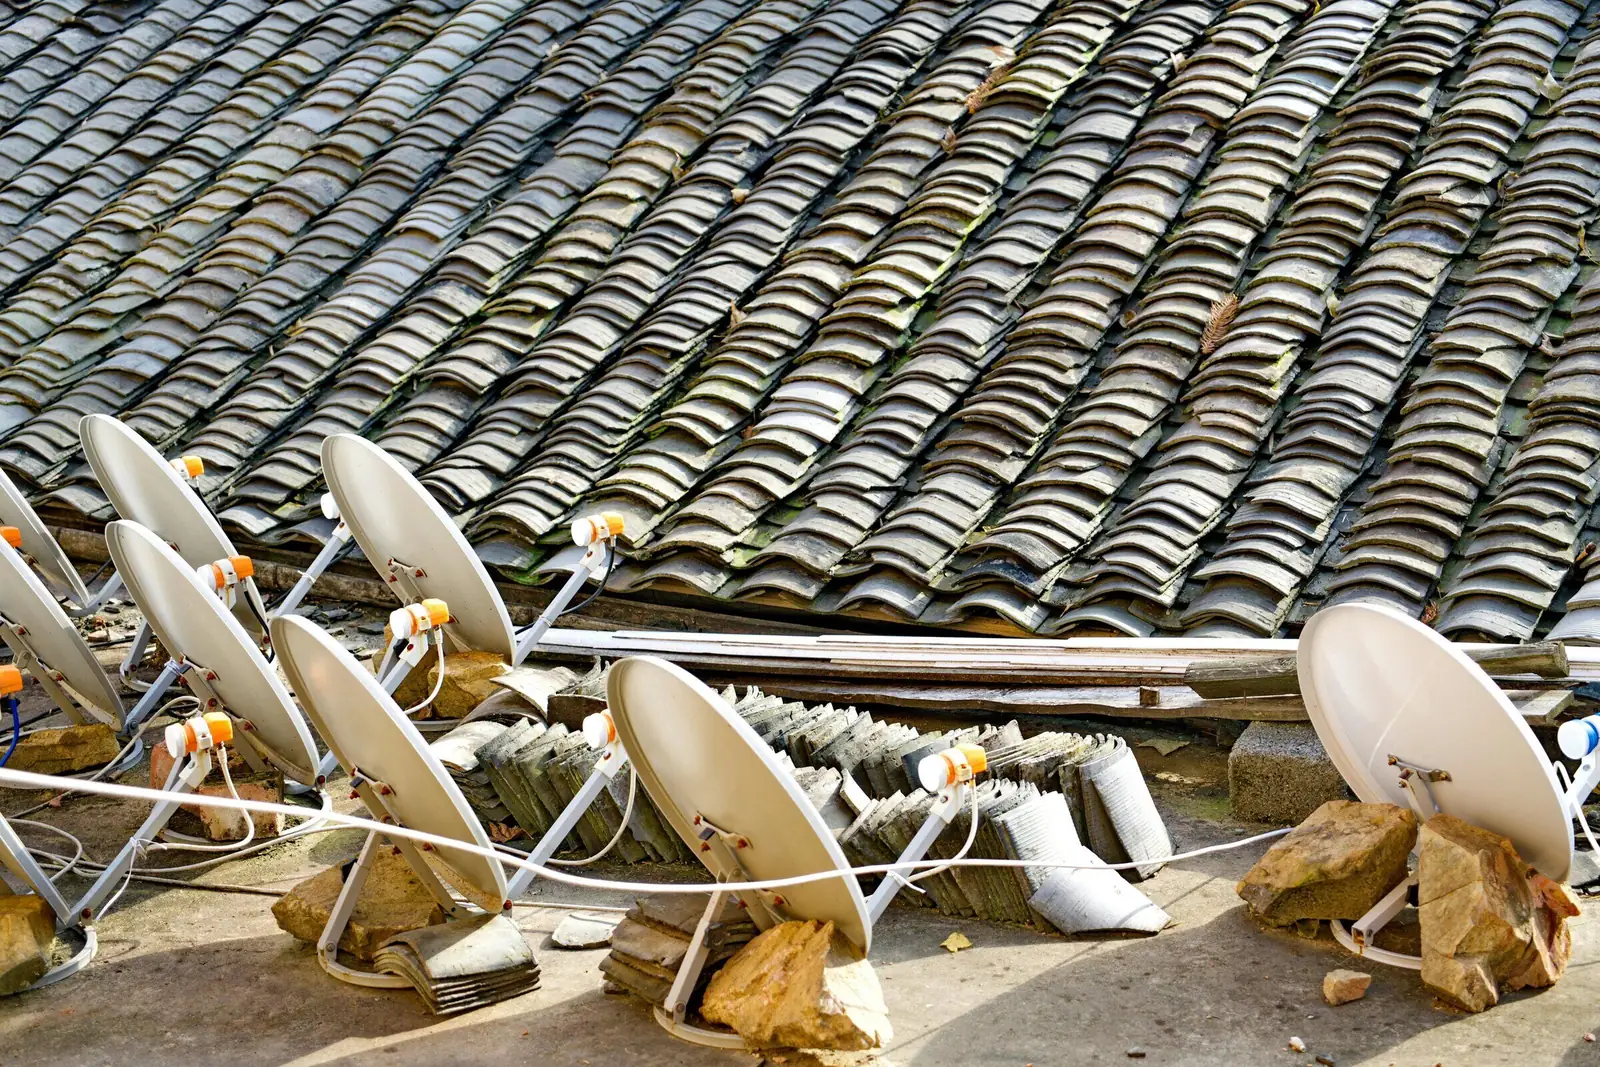
Why Starlink Installation Location Strongly Determines Internet Performance
Unlike cable or fiber optic internet, Starlink works by receiving signals directly from satellites in low Earth orbit. This means connection quality depends heavily on where the antenna is installed. If the antenna is placed in an area blocked by buildings, trees, or other tall structures, the signal to the satellite can be disrupted and cause the internet to become unstable.
Many users think height is the main factor, when the most important thing is an open view of the sky. The antenna does not always have to be at the highest point, but it must have an unobstructed communication path to the sky so it can switch connections between satellites smoothly.
By choosing the right installation location from the start, users can maximize speed, reduce connection interruptions, and get more optimal Starlink performance without needing additional settings.
The Most Common Mistakes When Installing Starlink
One of the most frequent mistakes is installing the antenna in a location that looks safe, but actually has many signal obstructions. For example, under a roof, near a tall wall, or in an area covered by trees. Even if the antenna remains powered on, the connection can frequently drop because the communication path to the satellite is not fully open.
Another mistake is assuming installation on a balcony or narrow yard is enough. Starlink needs a wide sky view because the satellites keep moving. If part of the sky is blocked, the connection will experience periodic interruptions that feel like sudden internet lag or reconnecting.
In addition, many users skip checking through the Starlink app before installation. In fact, the obstruction check feature is very helpful for determining the best position from the beginning. By avoiding these mistakes, Starlink performance can be much more stable without frequent readjustments.
Best Areas for Starlink Installation at Home, Office, and Project Sites
1. Home Installation
The most ideal location is the roof of the house because it has a wider sky view than other areas. If that is not possible, an open yard can also be an alternative as long as there are no obstructions such as tall trees, neighboring walls, or canopies. Avoid installation on enclosed balconies, near outdoor AC units, or in narrow areas because it can cause frequent connection drops.
2. Office or Commercial Building Installation
For offices, the building rooftop is the best choice because it has minimal signal interference and can serve many devices stably. Make sure the antenna is not blocked by billboards, lift rooms, or other tall building structures. Also pay attention to cable management so it remains neat, safe, and protected from heat and rain for long-term use.
3. Installation at Project Sites, Mines, and Plantations
In field operational areas, Starlink should be placed at the most open and strategic point, away from heavy equipment, cranes, or large metal structures that can interfere with the signal. Use an additional mounting pole if needed so the antenna sits higher than the surrounding environment. A sturdy installation is important to handle strong winds, dust, and dynamic working conditions.
4. Installation in Coastal or Island Areas
For coastal areas or small islands, the antenna should be installed in a stable area that is not easily exposed to sea spray. Use anti-corrosion mounting and make sure the device is not directly exposed to extreme sea winds so the device lasts longer.
5. Installation for Mobile or Temporary Needs
If Starlink is used for moving-location needs such as events, field surveys, or temporary operations, choose a flat area with stable access to electricity. Make sure the antenna still has a clear view of the sky even if the installation is temporary so performance remains optimal.
How to Check the Ideal Position Using the Starlink App
Before installing the antenna permanently, Starlink provides a practical way to make sure the location is already optimal through the Starlink app. This feature helps users see whether the installation area has a sufficiently open sky view or still has signal obstructions.
1. Use the Obstruction Check Feature
Open the Starlink app and use the obstruction check feature. Point the phone camera at the sky following the guidance in the app to scan the surrounding area.
2. Identify Signal Obstructions
The app will show whether there are obstructions such as trees, buildings, or other objects that could potentially block the connection to the satellite.
3. Compare Several Locations
Try checking several different points before deciding on the final position. Choose the area with the smallest obstruction indicator.
4. Make Sure the Area Has Clear View to Sky
The best location is an area with a wide sky view without tall objects around the antenna.
5. Monitor After Installation
After installation is complete, the app can still be used to monitor connection performance and make sure the antenna is working optimally.